
DIY No Sew Banner
IMG_0043

IMG_0319
IMG_0323
IMG_0326

IMG_0327
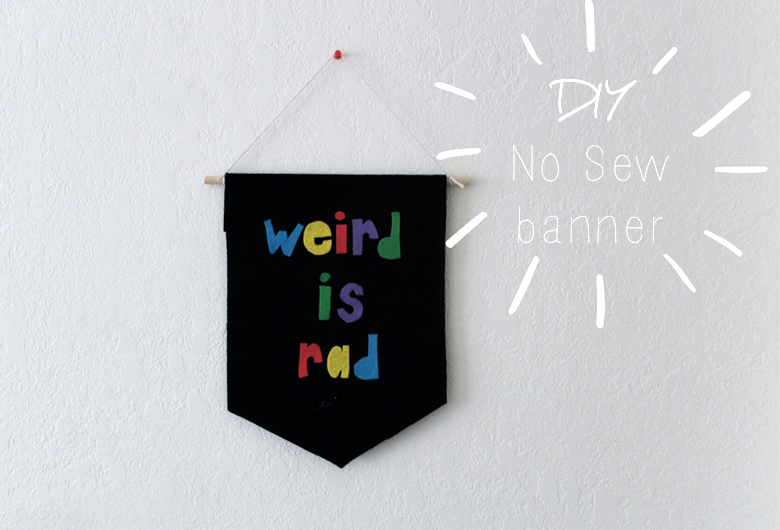
I'd been wanting to make one of these for so long. I had seen these ones all over Pinterest and Instagram but when I looked on the website and saw that they were going for $60 each I decided I was going to make my own. You can really make this project a number of ways using a variety of materials but, as a student on a tight budget, I chose to use felt because I'm pretty sure it's one of THE cheapest and easiest materials to work with.
Supplies: Large piece of felt for the background Smaller pieces of felt to create the letters - a perfect opportunity to use up any scraps from your felt banner ;) A wooden dowel Scissors Iron tape Iron String
Method:
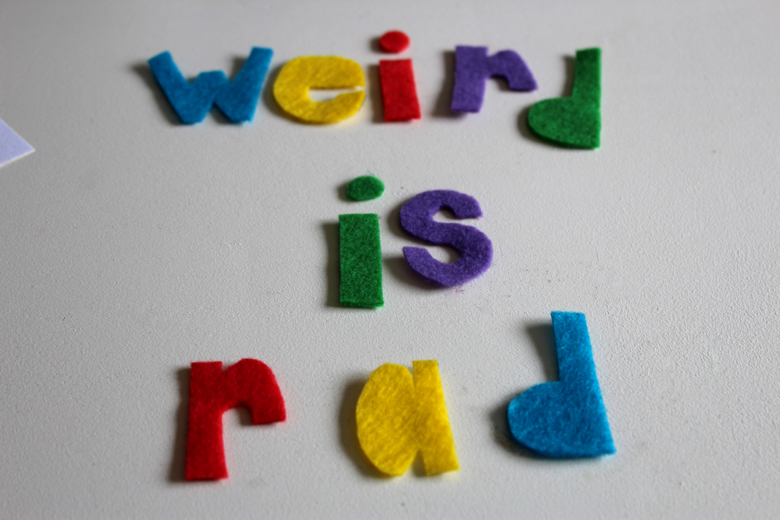
- Trace your letters onto the felt. I went free hand, but feel free to print out a template if you like!
- Cut out your letters/symbols/shapes
- Lay out your phrase/design on the large piece of felt and decide how big you want your banner to be. I followed the crease lines, then measured the halfway point, made a mark a few inches below the original line, and connected two lines to make the point.
- Cut your banner to whatever size you choose.
- Lay out your phrase once more on the felt to make sure you're happy with the arrangement beforeyou start ironing the letters on... Make sure to leave an inch or two to fold over the wooden dowel.
- Cut tiny strips of the iron tape so they fit on the backsides of the letters but can't be seen from the front (if you can see them, it's likely they're going to get all melty and mess with your iron..)
- Iron on your letters using the instructions on your tape.
- Cut a long strip of iron tape and use it to seal the felt around the dowel.
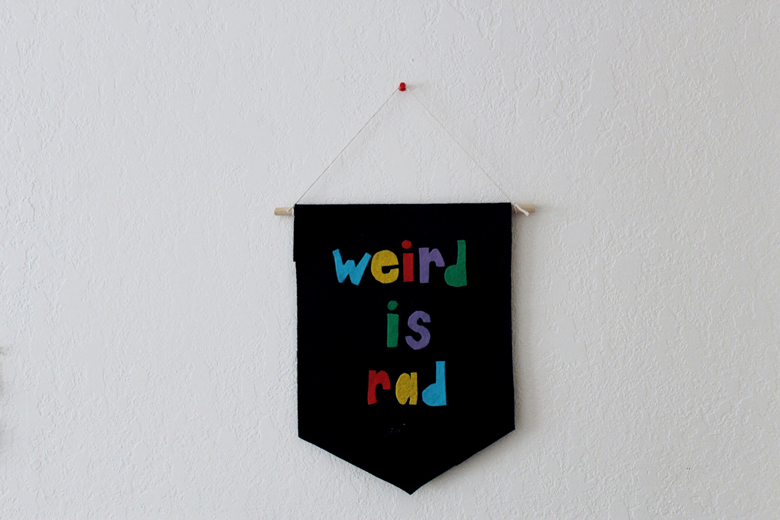
- Attach a piece of string to each end of the dowel
- Hang on a wall, stand back, smile at your beautiful new creation!
If you make this, or any other DIYs I've posted, please share! I would love to see them!!