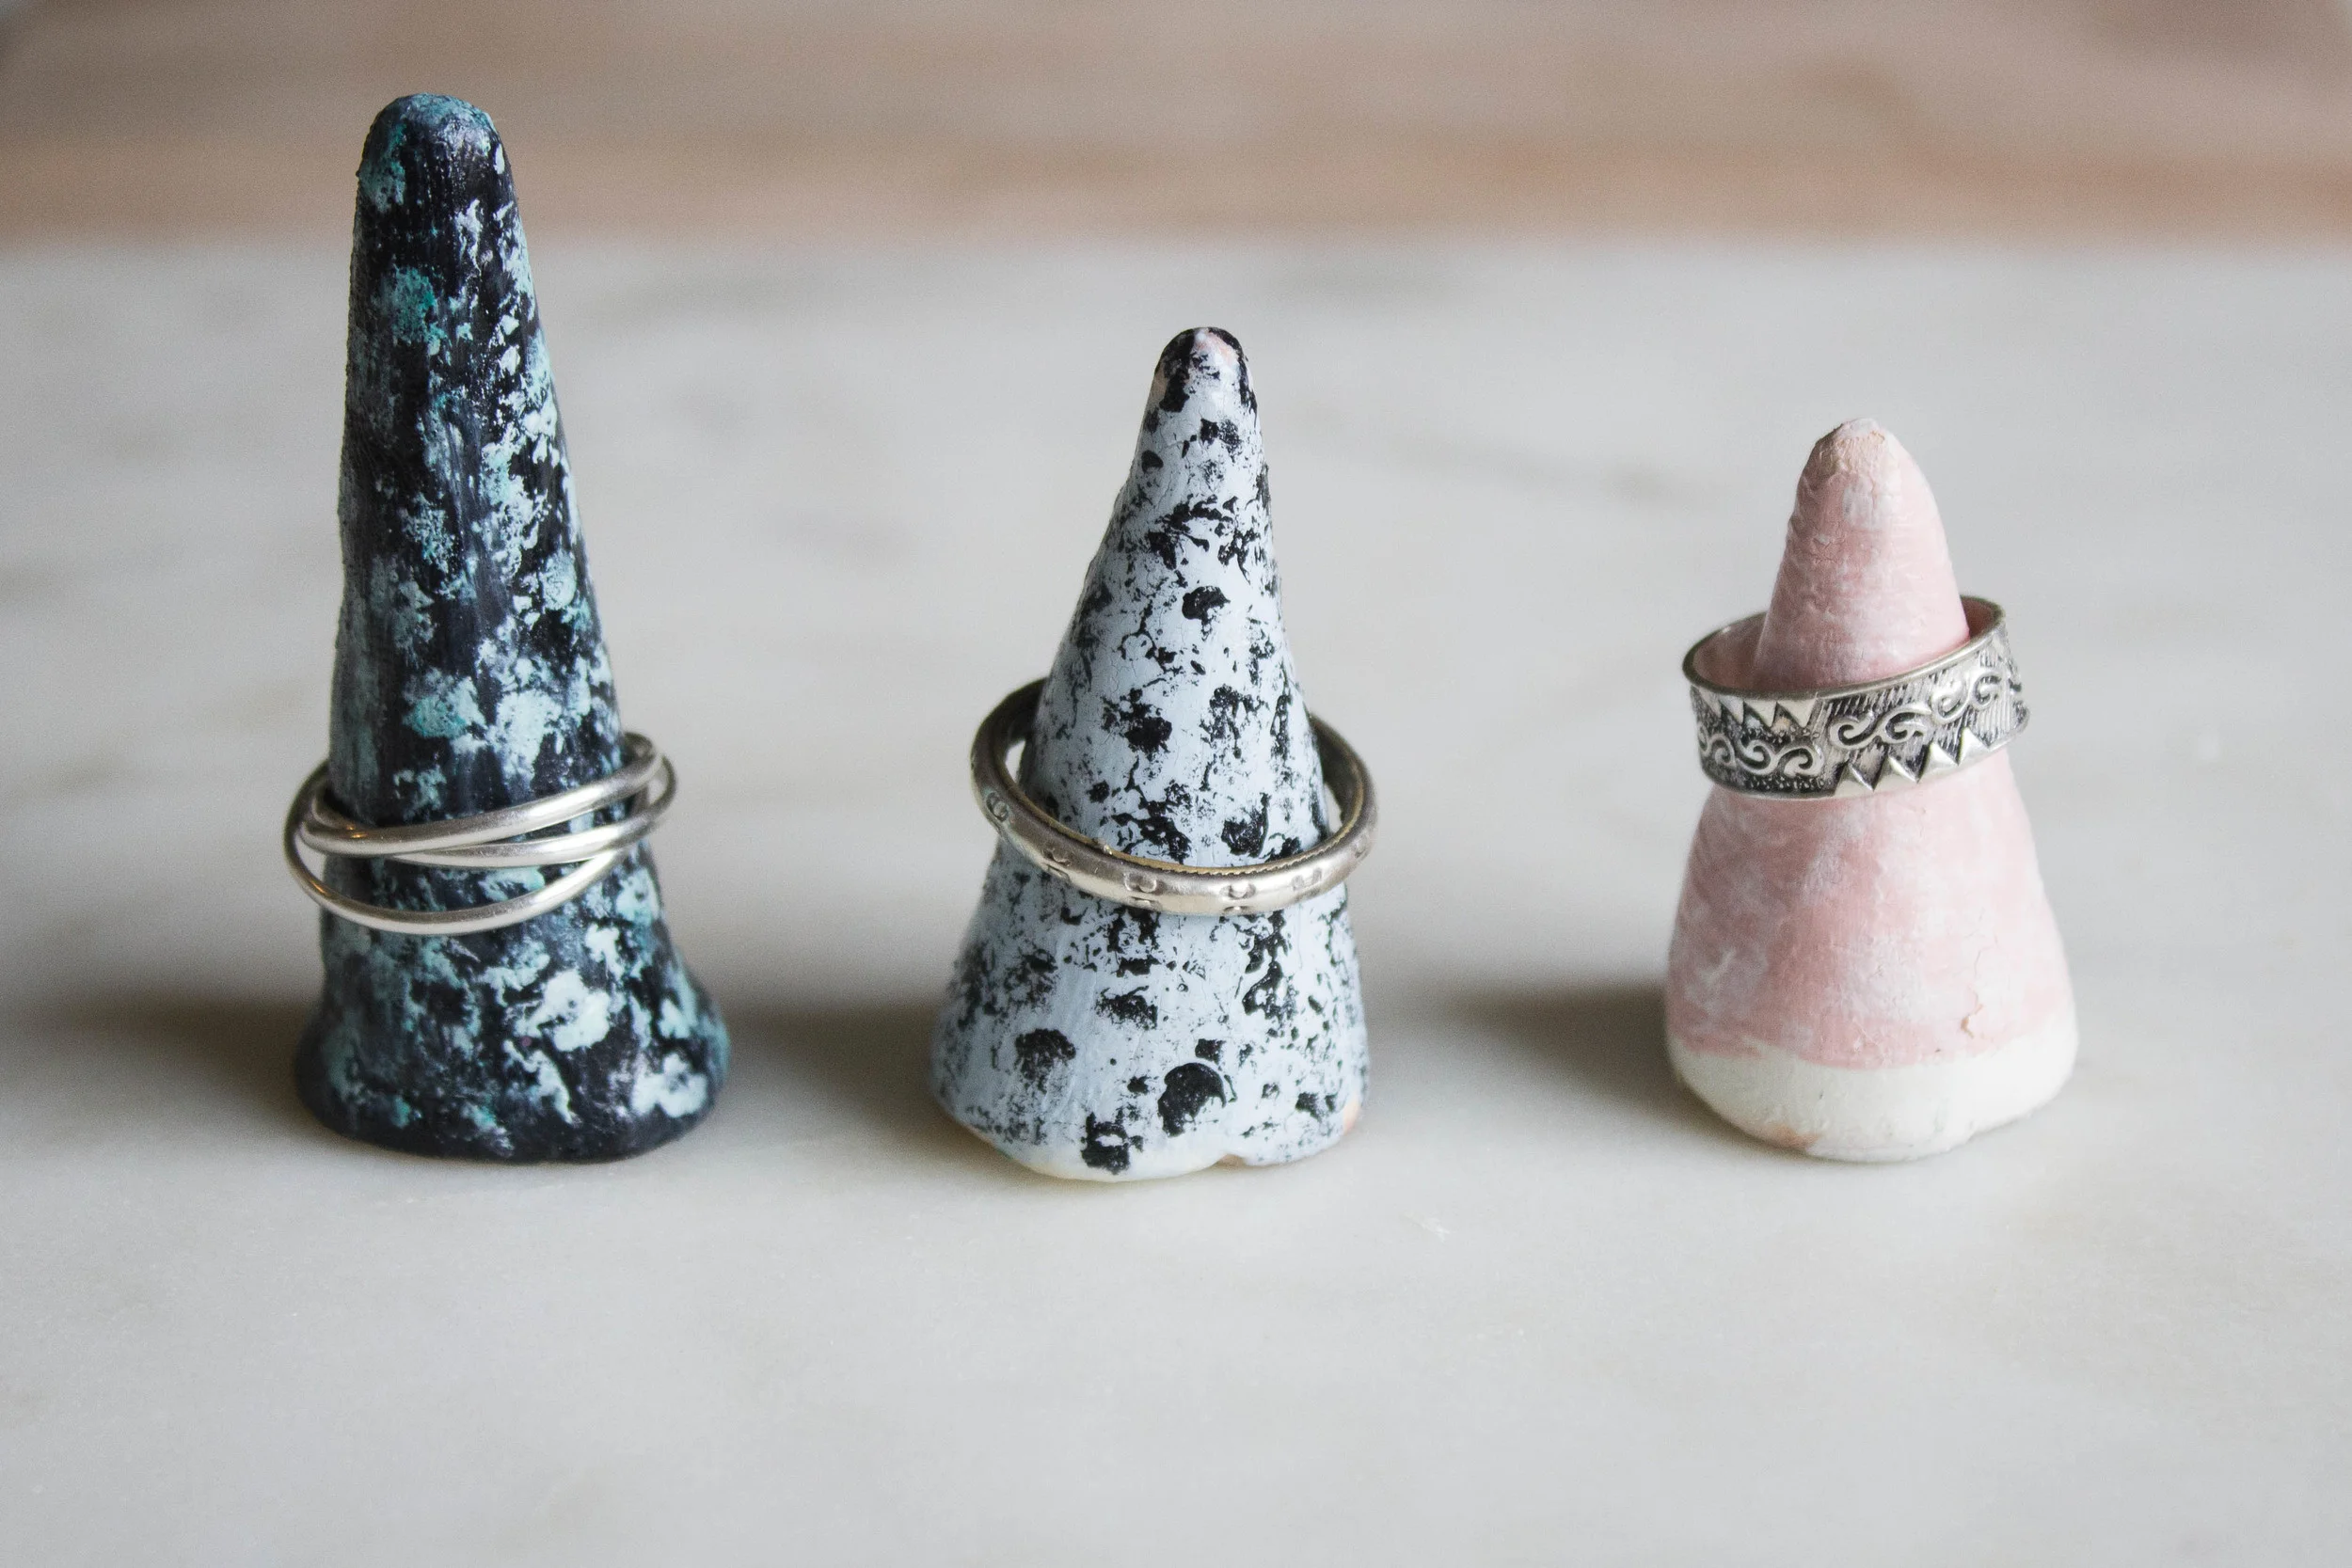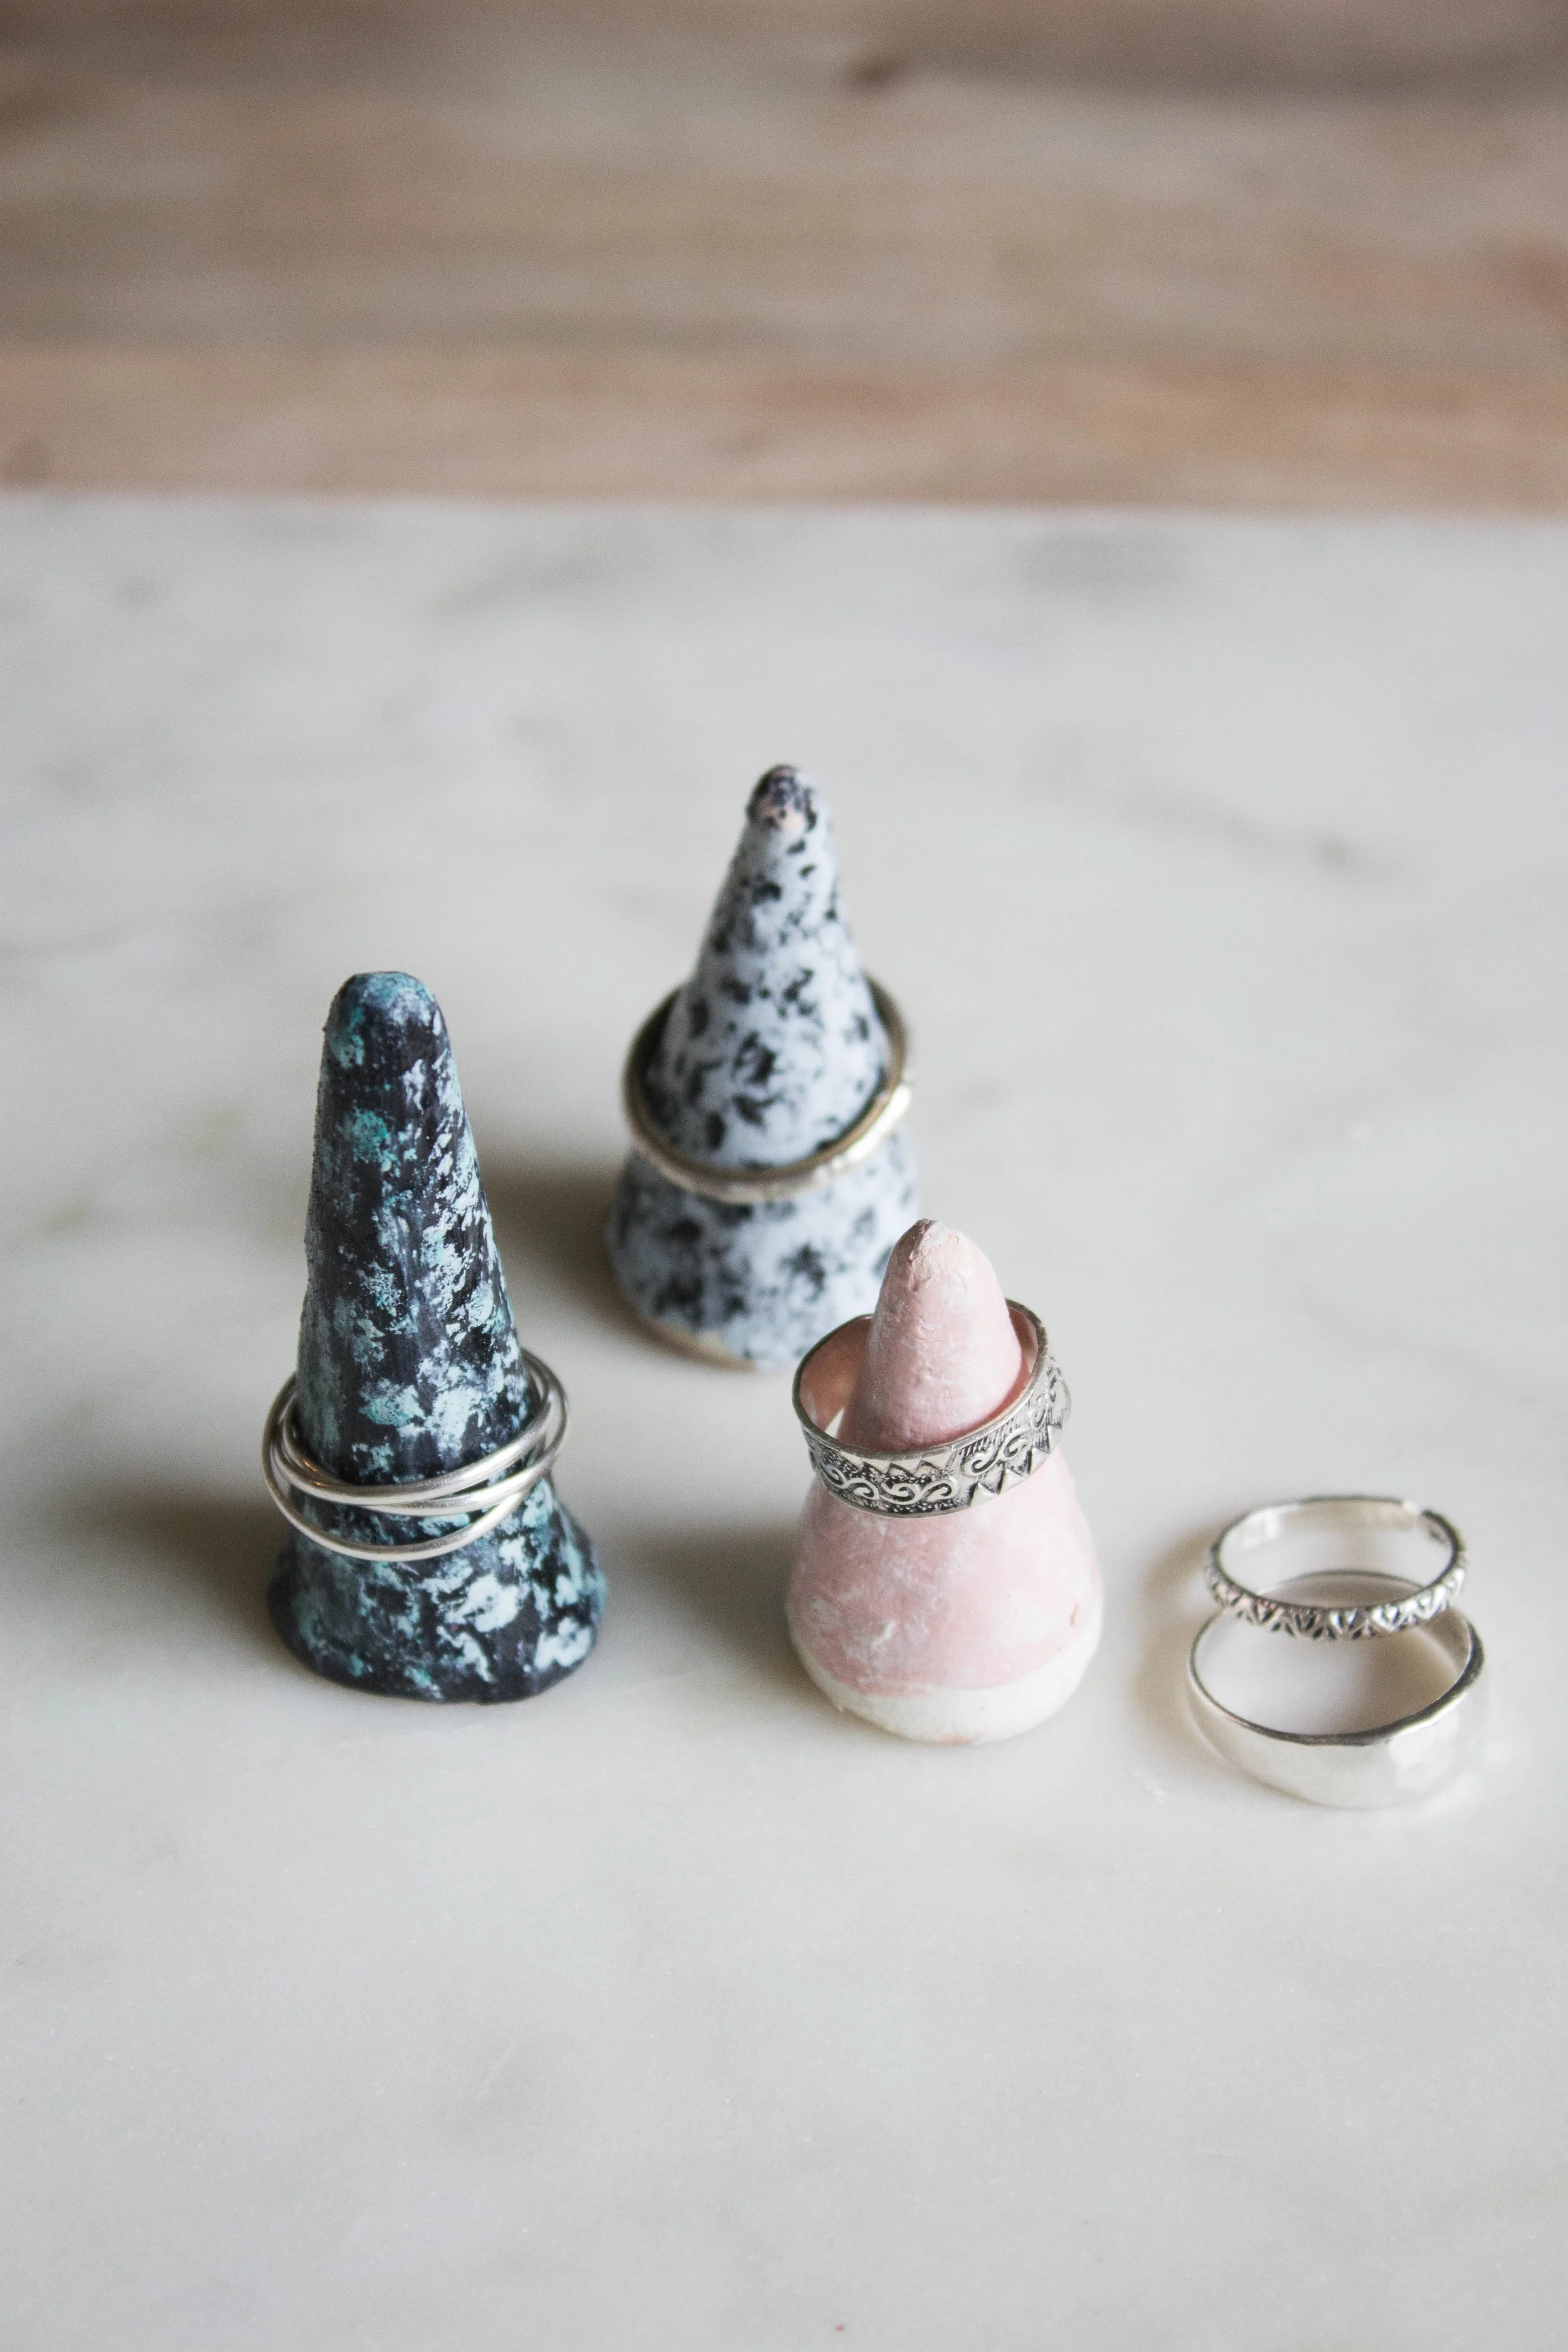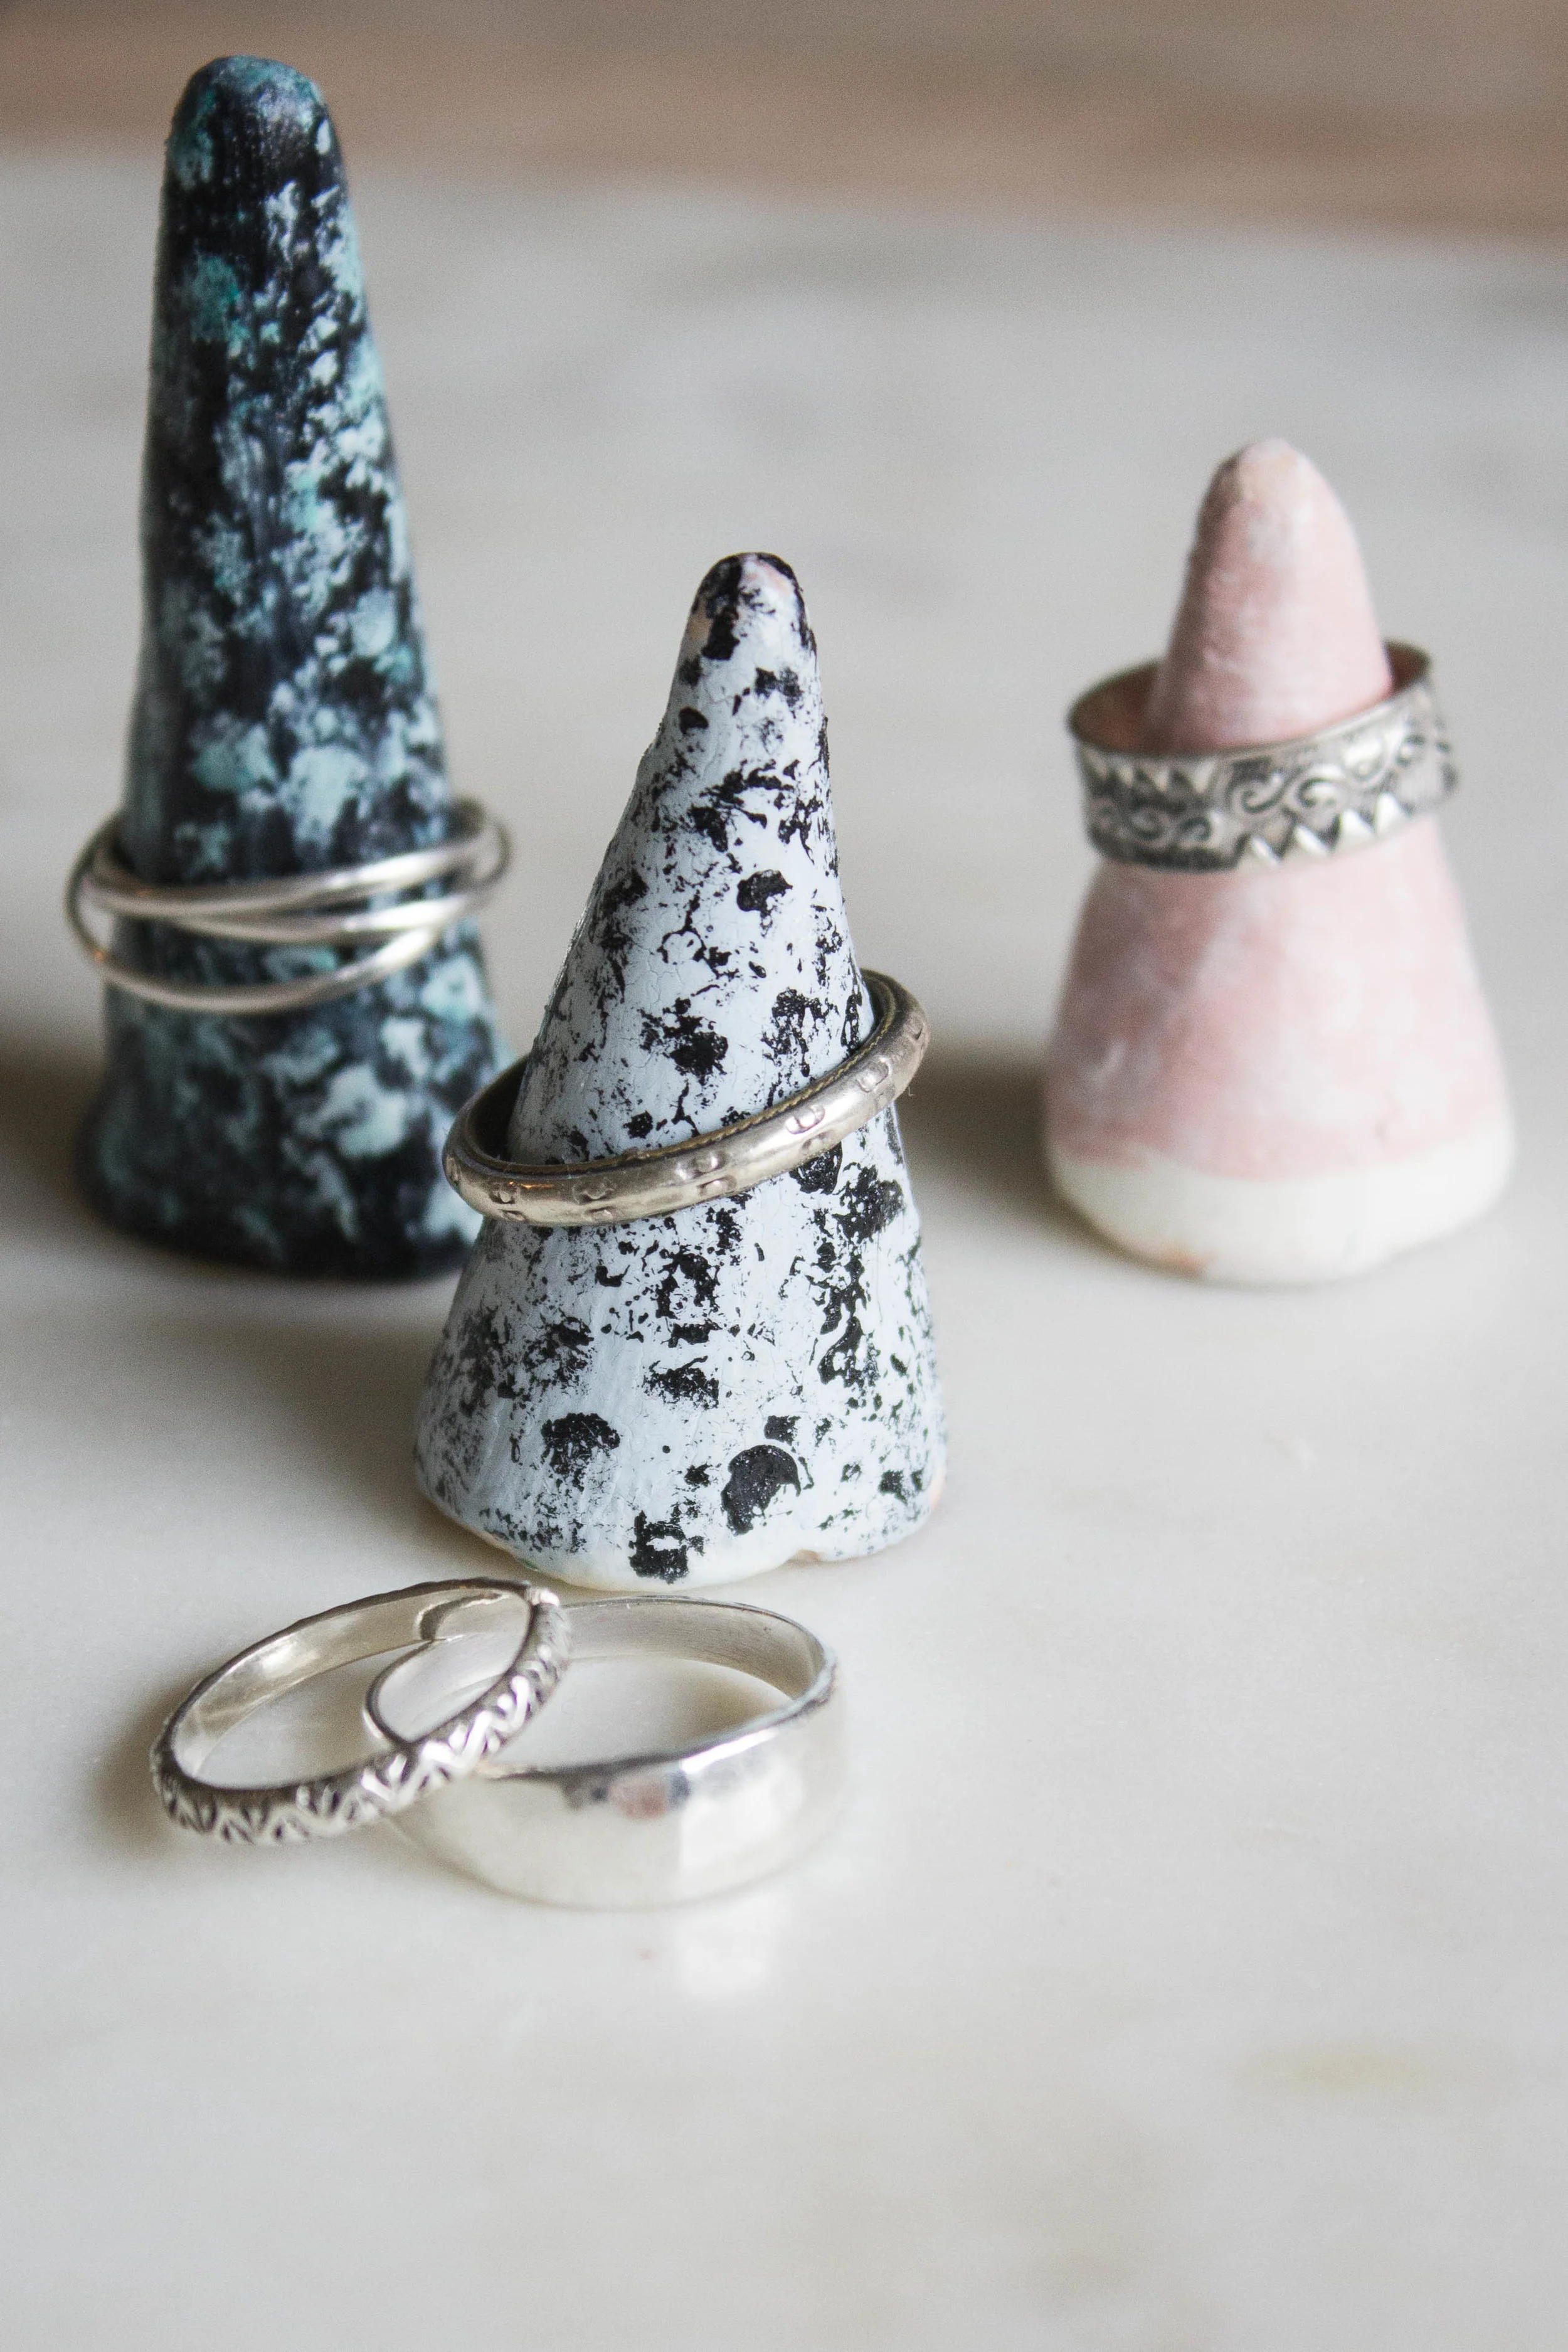
DIY Ring Cones
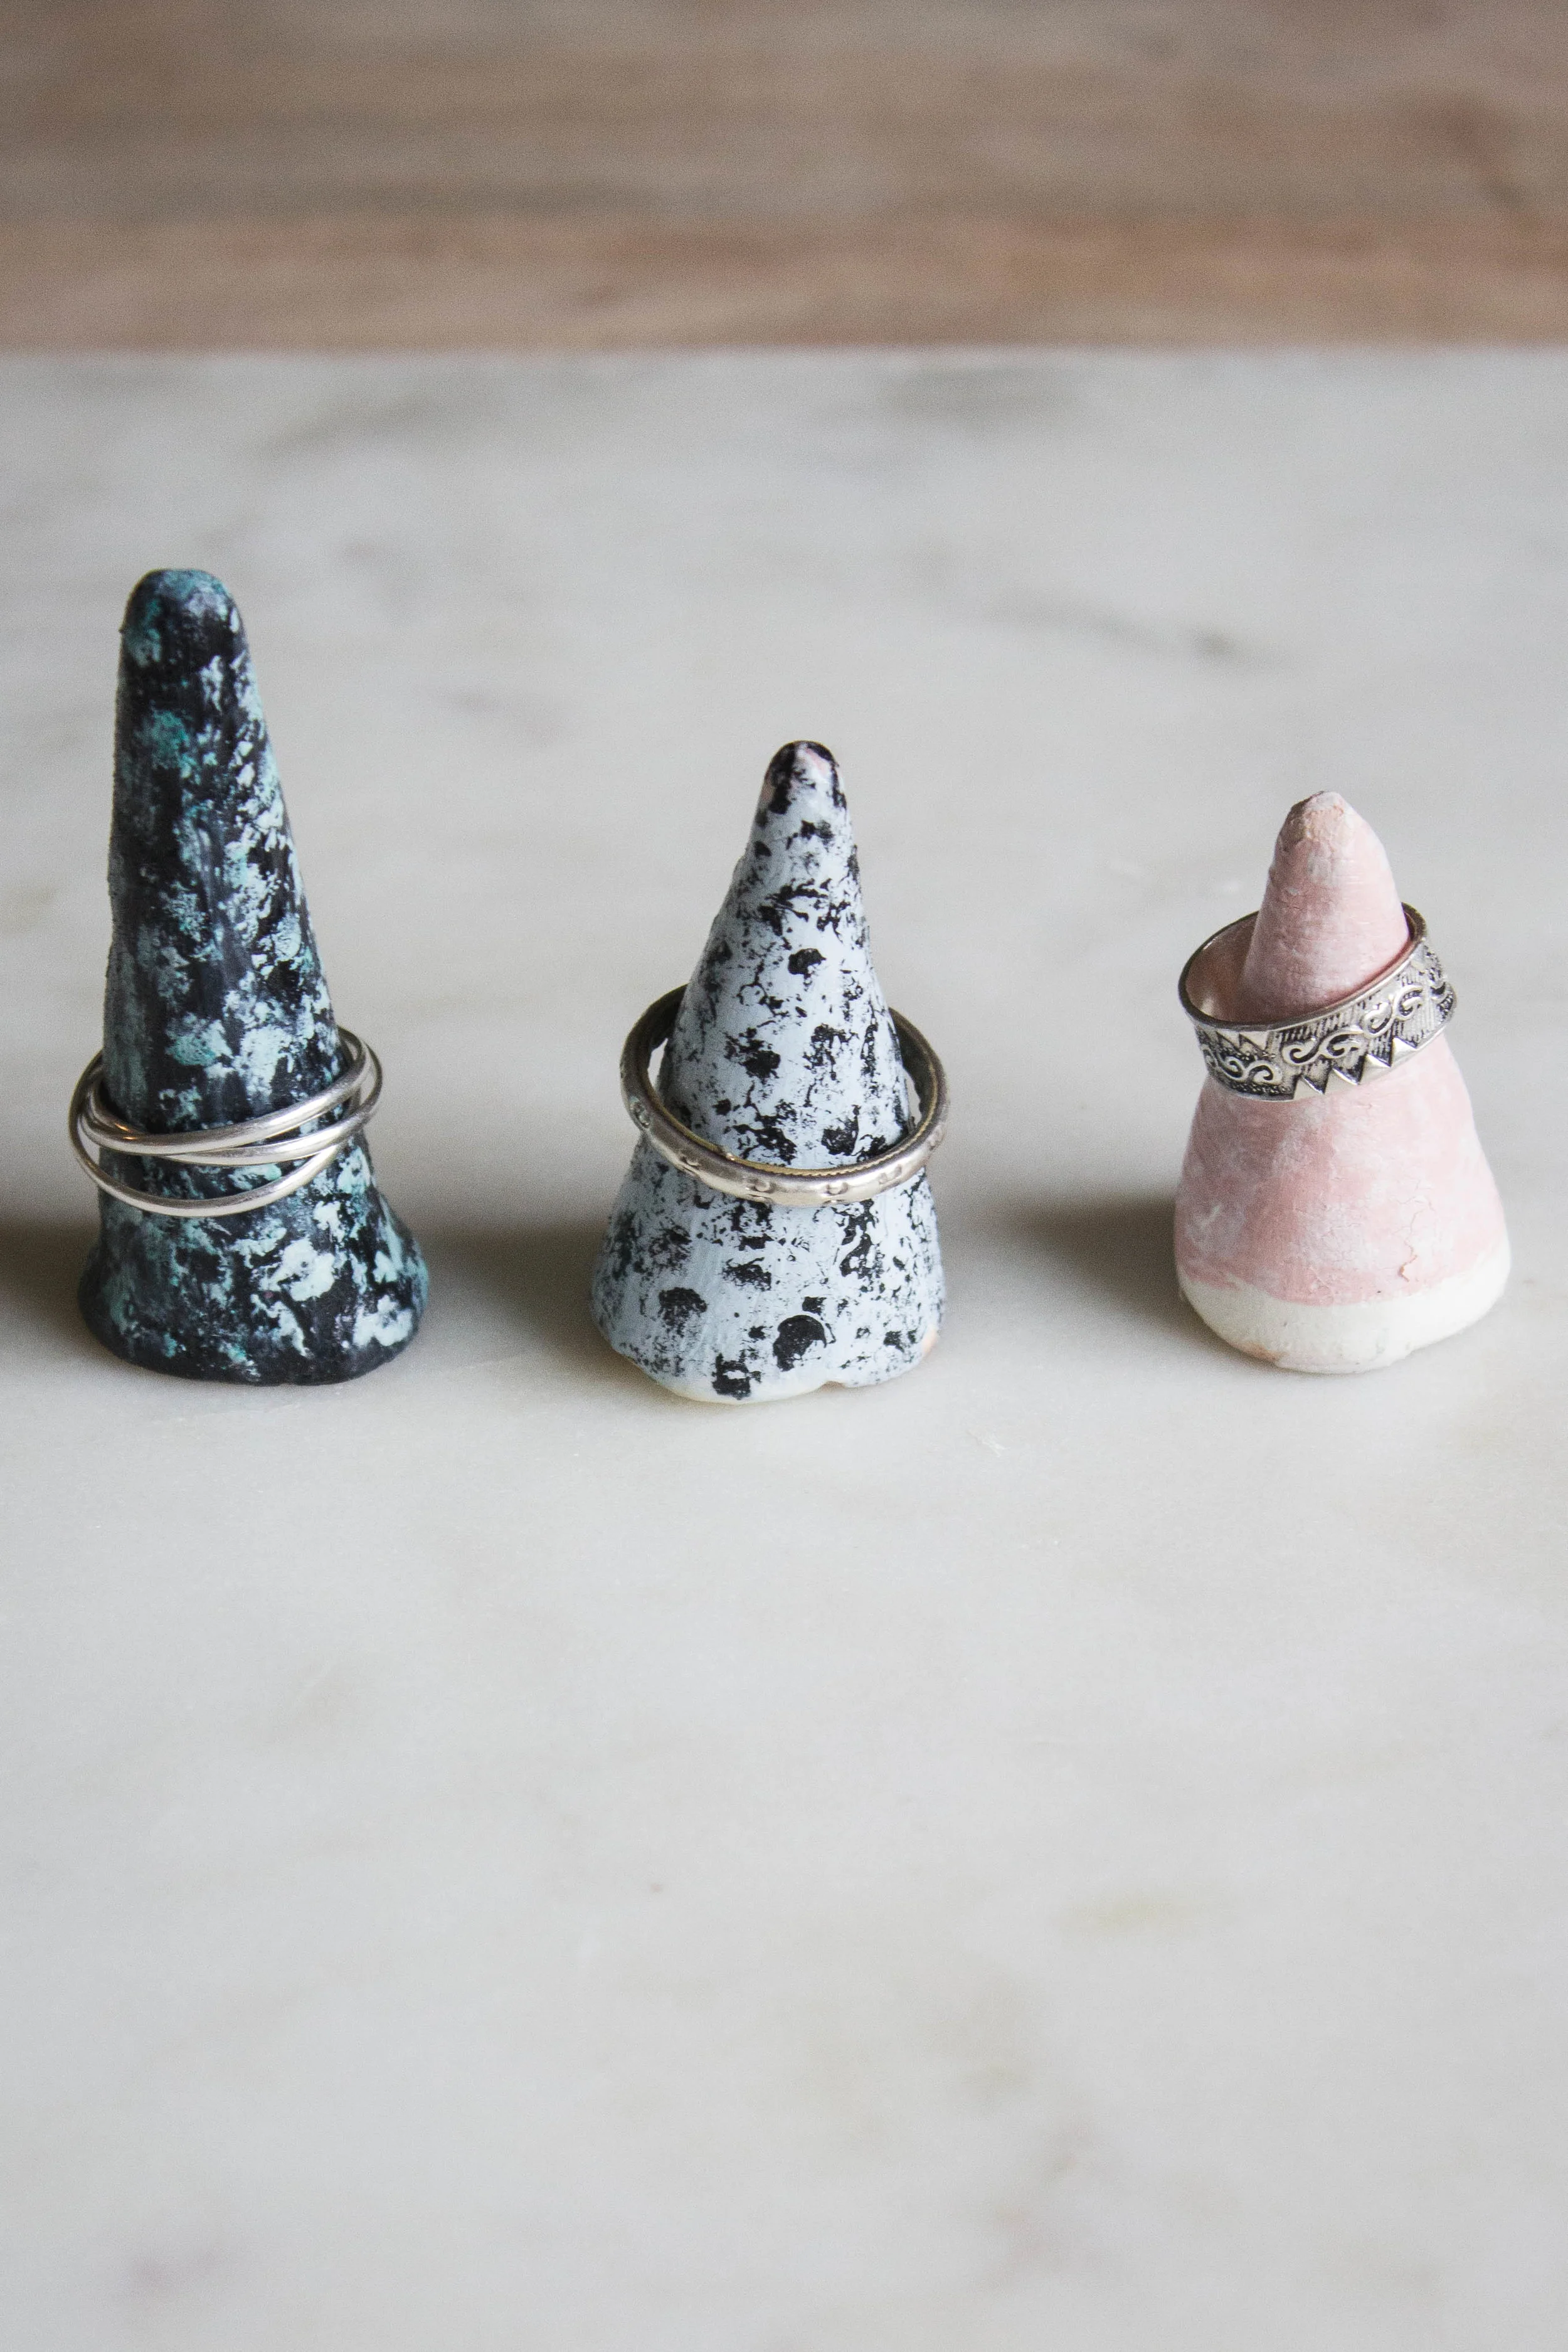
I'm sure you've seen these little guys in all of your favourite accessory stores and online shops and have thought, "$38?! Are they SERIOUS?!" and kept browsing. Well I had the same thought followed by "ima make dat for 2." So I did. I already had all of the materials lying around so this project cost me nothin'.
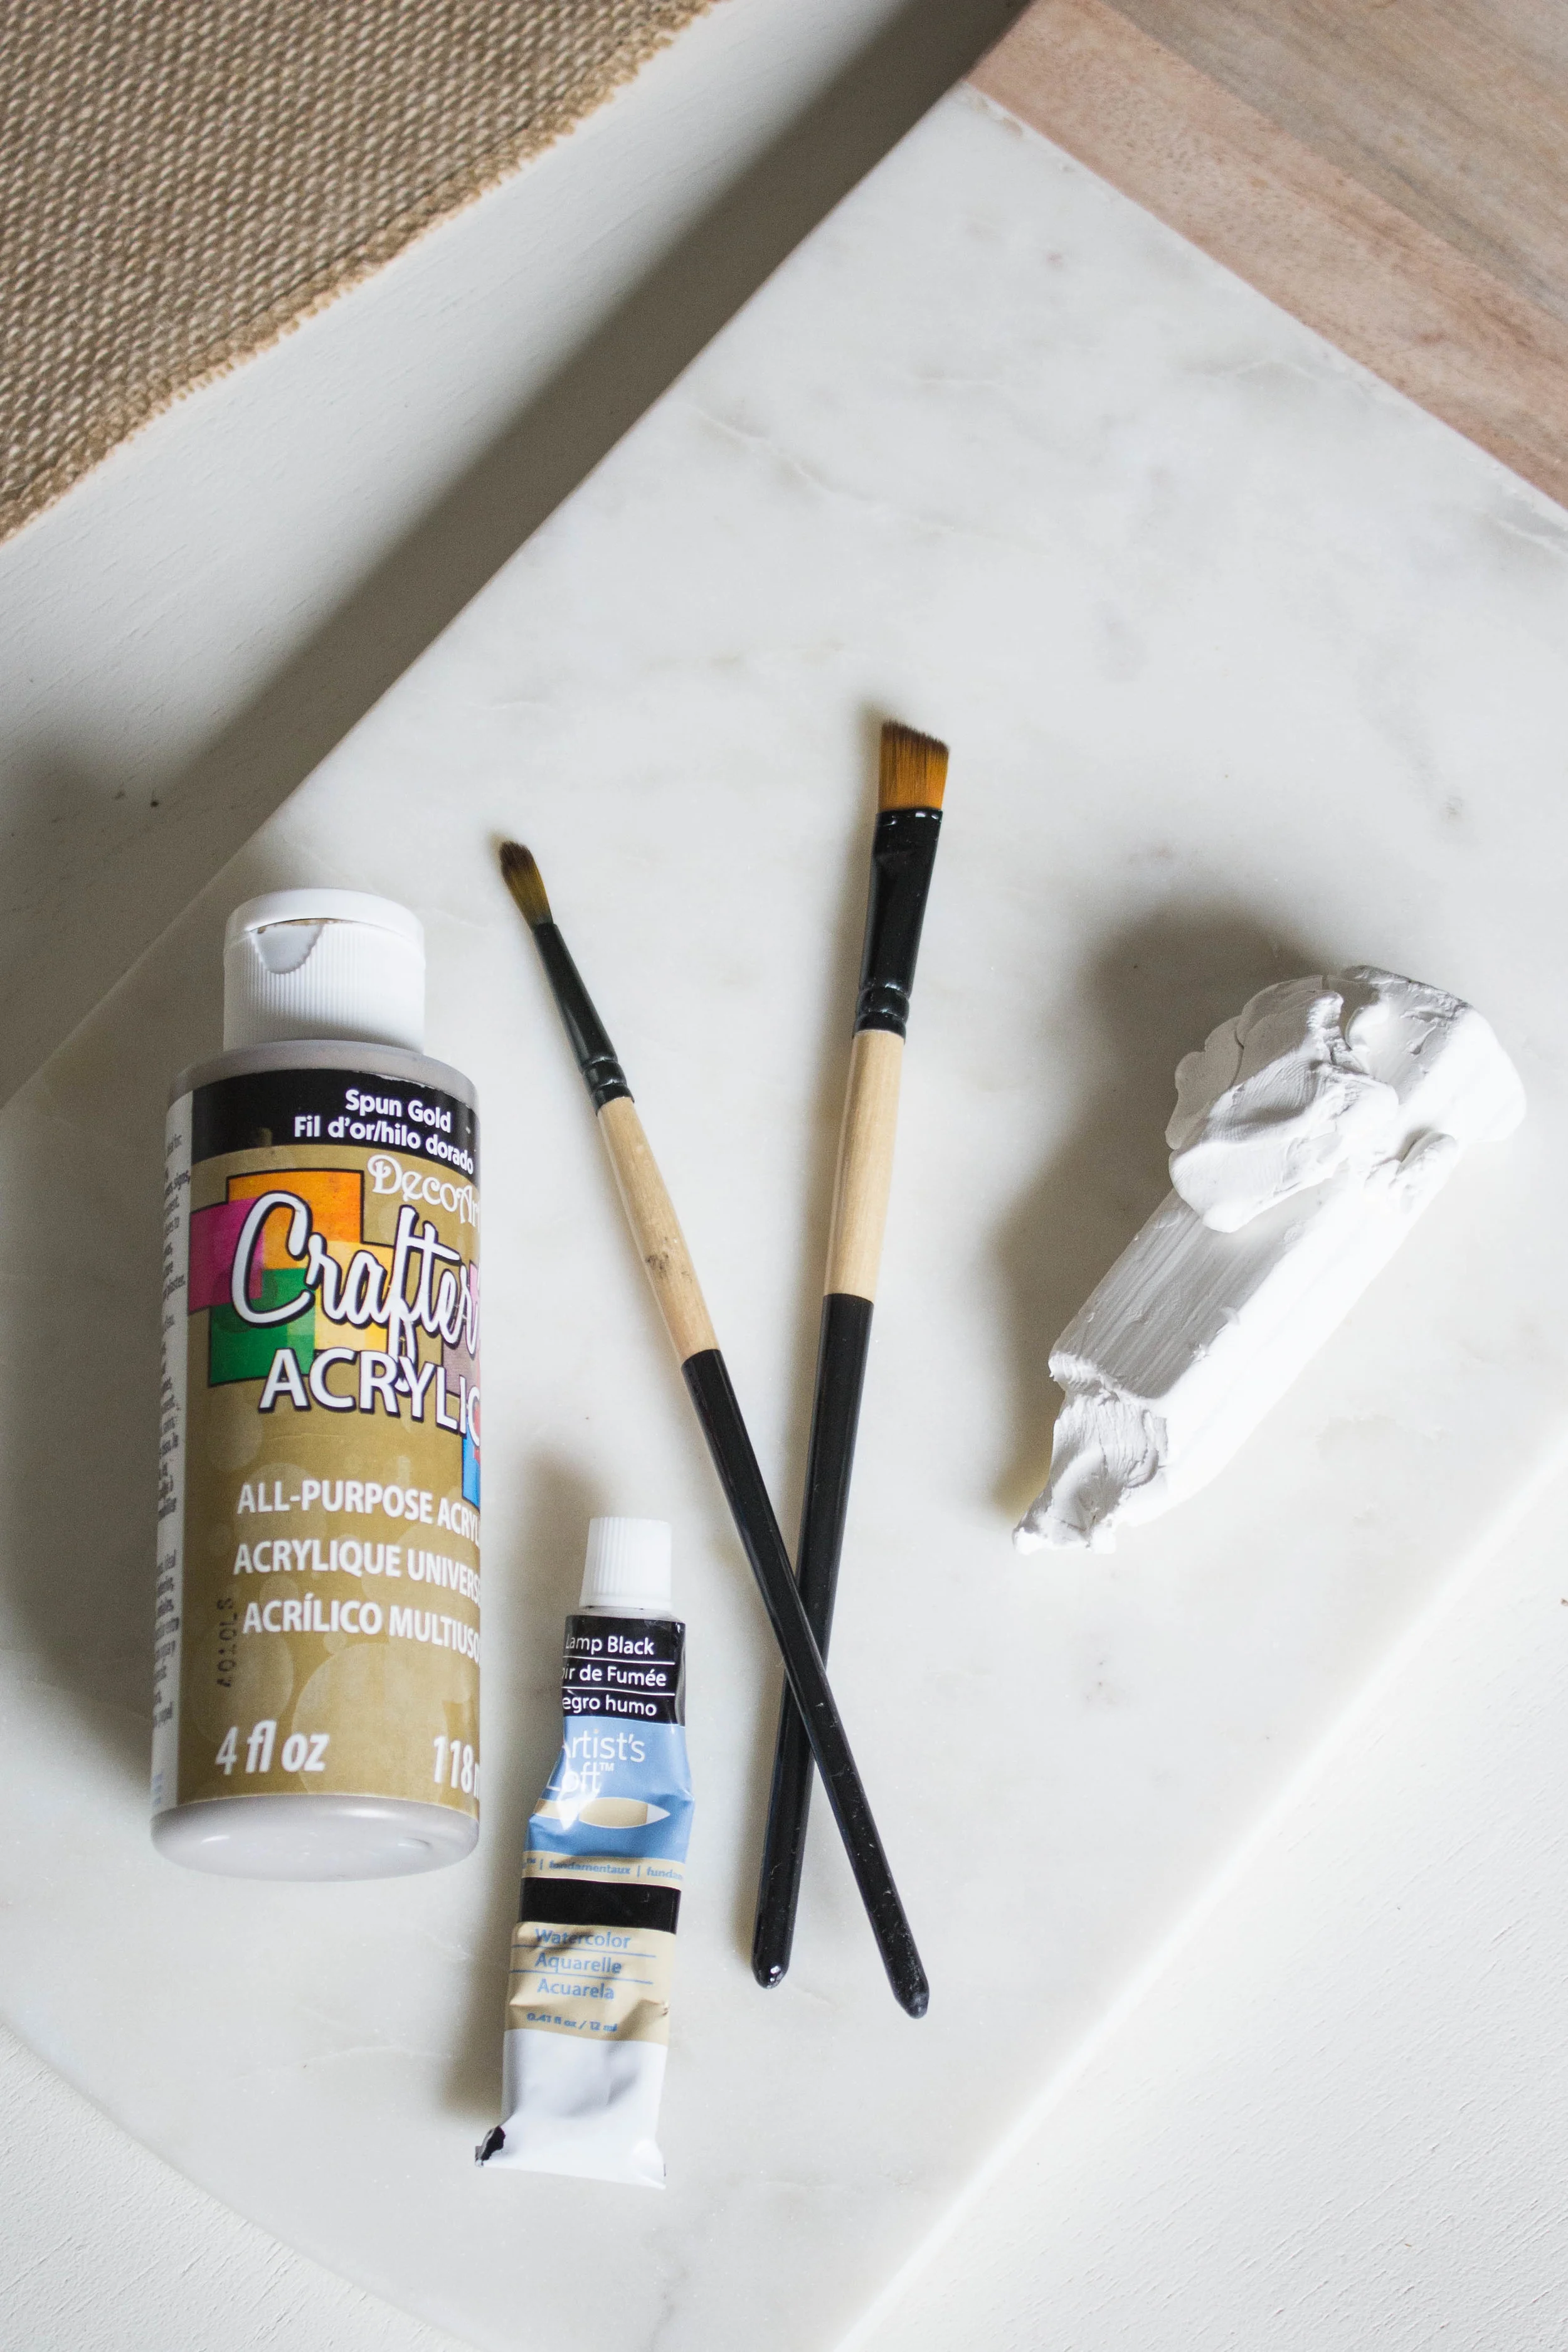
All you need is some polymer clay (I used the oven bake kind in white), some acrylic paint, and some paint brushes. You'll also see that I used some tape in the photos below but I ended up not liking how it looked and painted over the clean lines - so tape is optional.
Instructions:
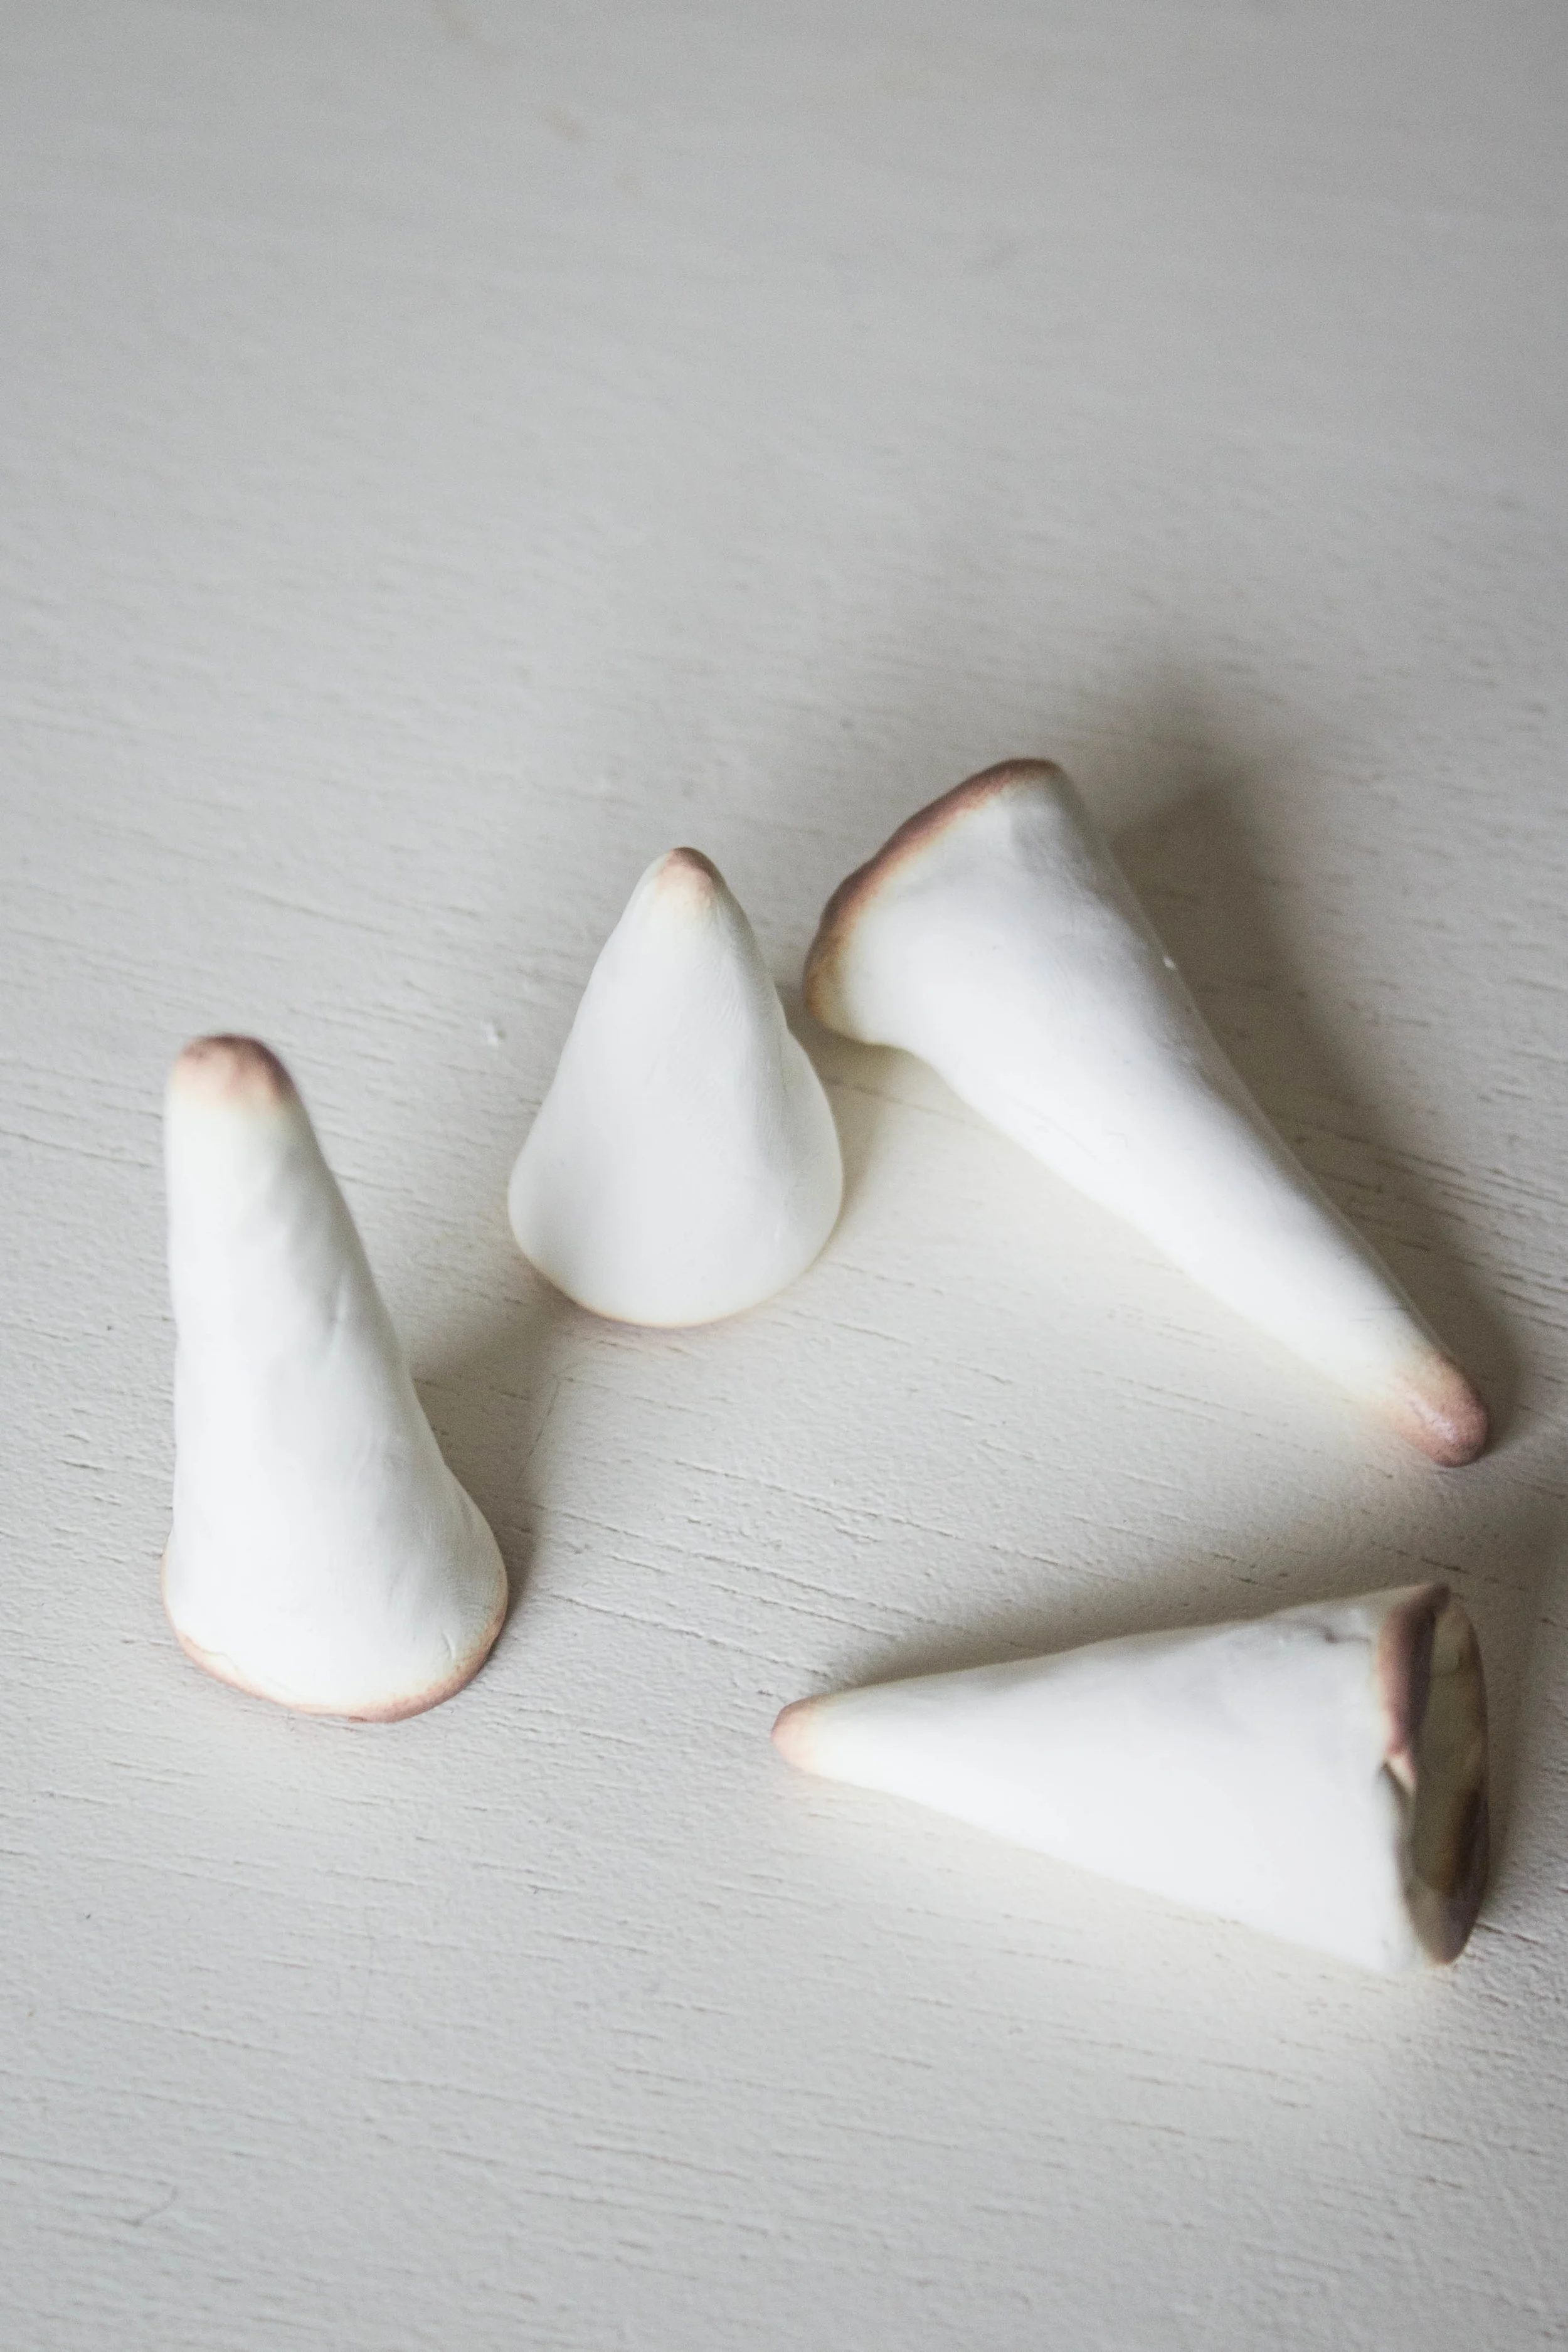
- Roll your clay into cone shapes
- Bake according to the guidelines on your package - if in doubt set the oven to 275F and check on them in 5/7 minute intervals. (*NOTE* because they're thicker on the bottom than the top, it's likely that they'll cook a bit unevenly and may even burn a bit (see the photo above). It's fine because the paint will even it all out, but just make sure you keep an eye on them so they don't get completely destroyed. I think mine took about 15 minutes.)
- Let cool completely.
- Paint them in whatever way you like. Once the paint has dried, paint an even layer of high gloss finish to make them nice and shiny.